
Creating effective survey forms in WordPress is essential for any website owner serious about understanding their audience. Through my years of managing WordPress sites and analyzing user feedback, I’ve discovered that the right survey can transform how you connect with visitors and make data-driven decisions.
WordPress currently powers 43.4% of all websites globally, making it the perfect platform to reach your audience where they already are.
Rather than redirecting users to external survey platforms that often have limited response capabilities, I’ll show you how to create professional surveys directly within your WordPress site using proven methods that have helped me achieve great response rates.
Why Create Surveys in WordPress?
After testing dozens of survey solutions over the past five years, I can confidently say that WordPress-based surveys consistently outperform external alternatives. Here’s what I’ve learned:
- Better Response Rates: In-app and web surveys achieve 25-55% response rates compared to email surveys that typically see only 15-25%. When visitors can complete your survey without leaving your site, they’re significantly more likely to participate.
- Complete Data Control: Unlike third-party platforms, WordPress surveys store all responses in your own database. This means no monthly fees based on response limits, no data ownership concerns, and complete customization freedom.
- Seamless Integration: WordPress surveys integrate naturally with your existing analytics, email marketing, and CRM tools. I’ve found this integration invaluable for creating comprehensive user profiles and tracking the customer journey.
How to Create a Survey Form in WordPress
Creating a survey form and using the data effectively can be straightforward if you select the right survey builder plugin.
But which plugin should you use? In my opinion, many survey builders offer limited customization options and even restrict the number of responses you can gather.
In this tutorial, I’ll introduce two excellent survey creation tools. Both tools do not limit responses and offer a wealth of useful features. Pick the one that best fits your website’s needs!
- UserFeedback – the best user feedback plugin
- WPForms – The best drag-and-drop WordPress form builder
Option 1: Build Surveys and Collect Feedback with UserFeedback
The first option to consider is UserFeedback. It’s the top user feedback plugin for WordPress, packed with features that make it easy to ask your visitors questions and get genuine responses.

This plugin is user-friendly and comes with many pre-made questions. However, you can also create custom questions to ask your visitors anything you’re curious about.
Here are some of the standout features of UserFeedback:
- Create unlimited surveys with as many questions as you need, with no limits on responses.
- Access pre-made surveys if you’re unsure what to ask.
- Conditional logic for survey questions.
- Customize the appearance with your website’s colors and logo.
- Use various question types, including long answers, multiple choice, image radio buttons, star ratings, and email collection.
- Control when surveys appear and who sees them.
- Integrate with Google Analytics, access easy-to-read reports, and save all responses.
- And more!
With these features, UserFeedback is a fantastic plugin for gathering feedback from your website visitors.
First, download UserFeedback at the appropriate license level for your site. After installing the plugin, you’ll be directed to a setup wizard.
Click Start, and let’s go through the setup process together.
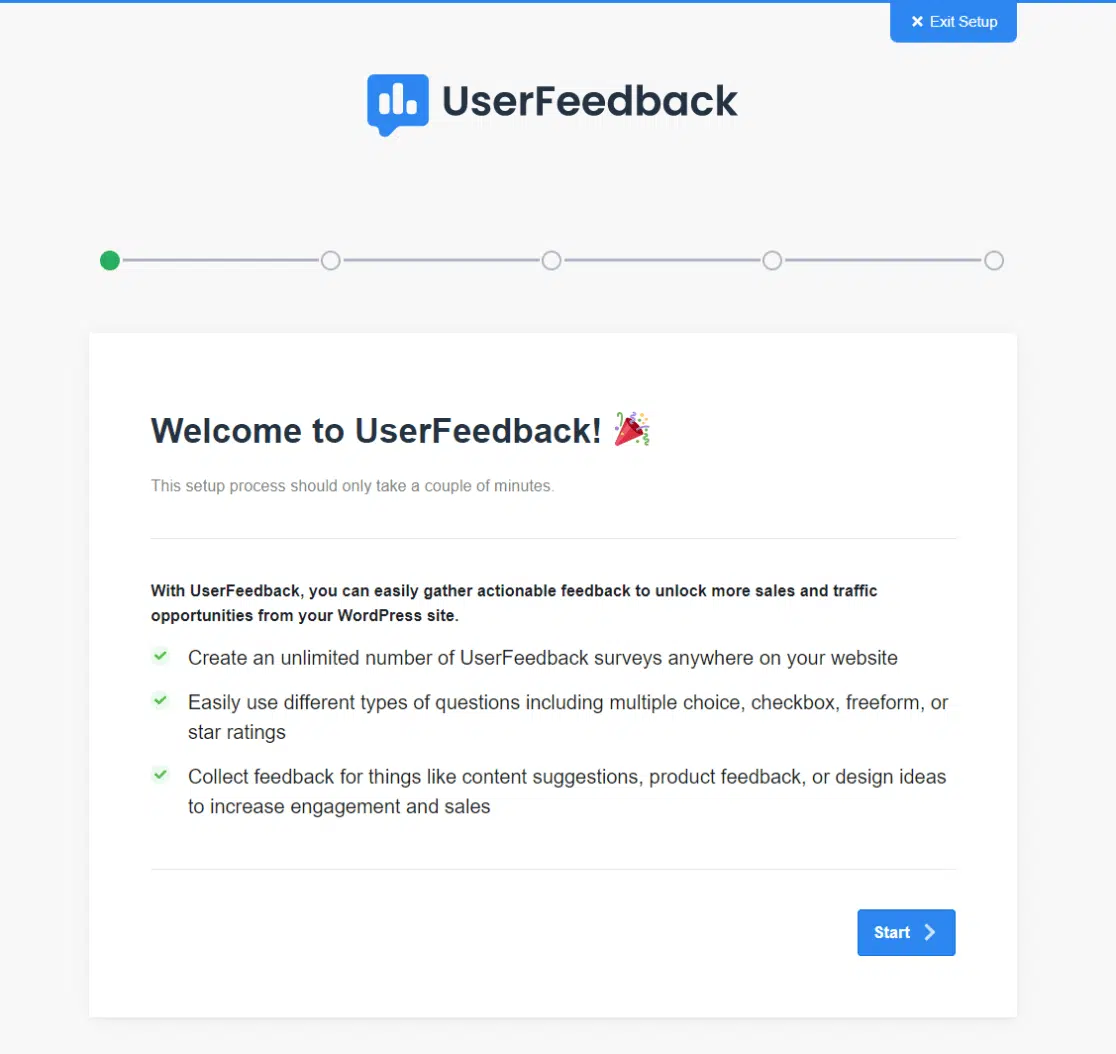
Step 1: Create Your First Survey
To start, you’ll build your first UserFeedback survey. Don’t worry; you can modify it anytime after the initial setup.
You can choose a question from the available options or create one of your own. Once you’ve selected it, click the Next Step button:

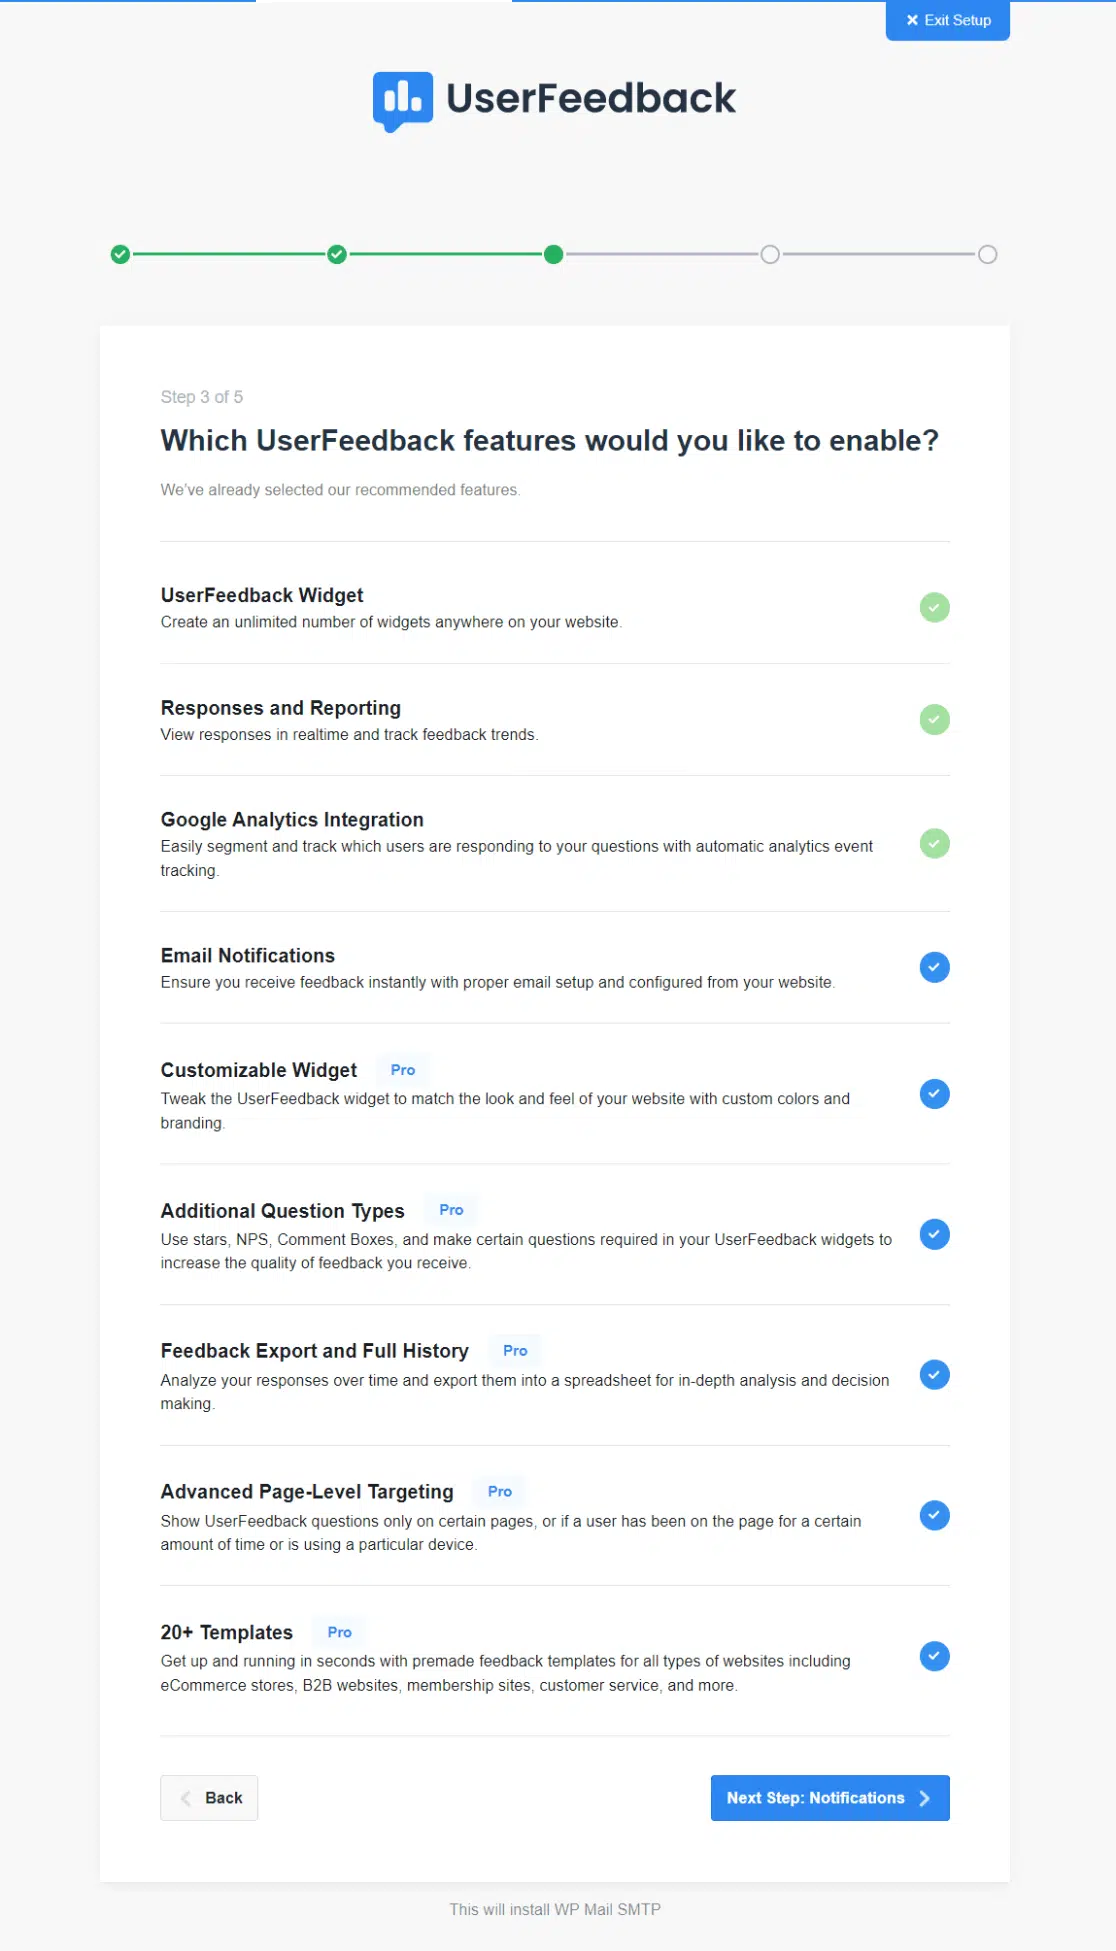
Step 2: Select Features to Activate
Depending on your license level, you’ll have several features you can enable.
Activate the ones you need or select all that your license level allows. Proceed by clicking the Next Step button at the bottom.
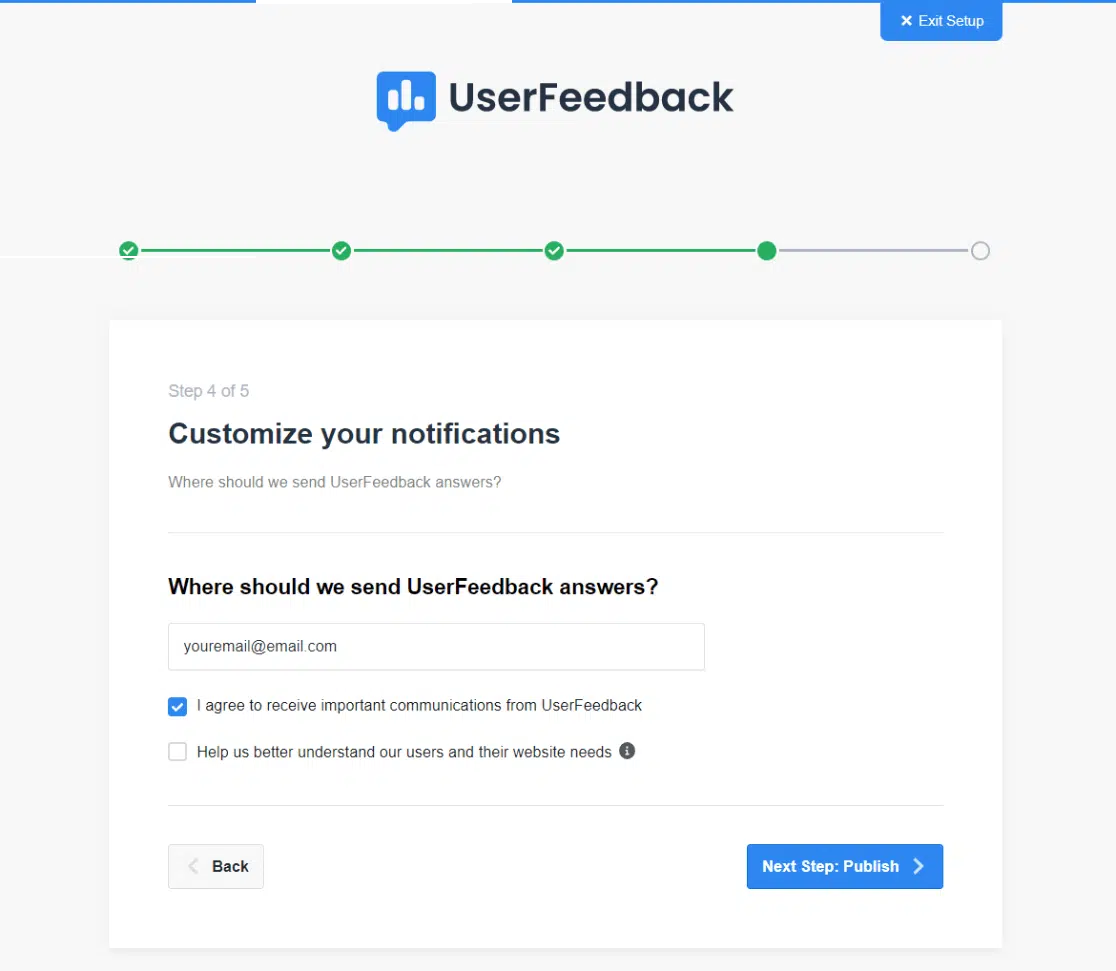
Step 3: Set Up Notifications
Here, you can specify the email address where your survey responses will be sent and agree to receive important updates from the UserFeedback team.
You can also choose to help the team better understand user needs and website requirements.
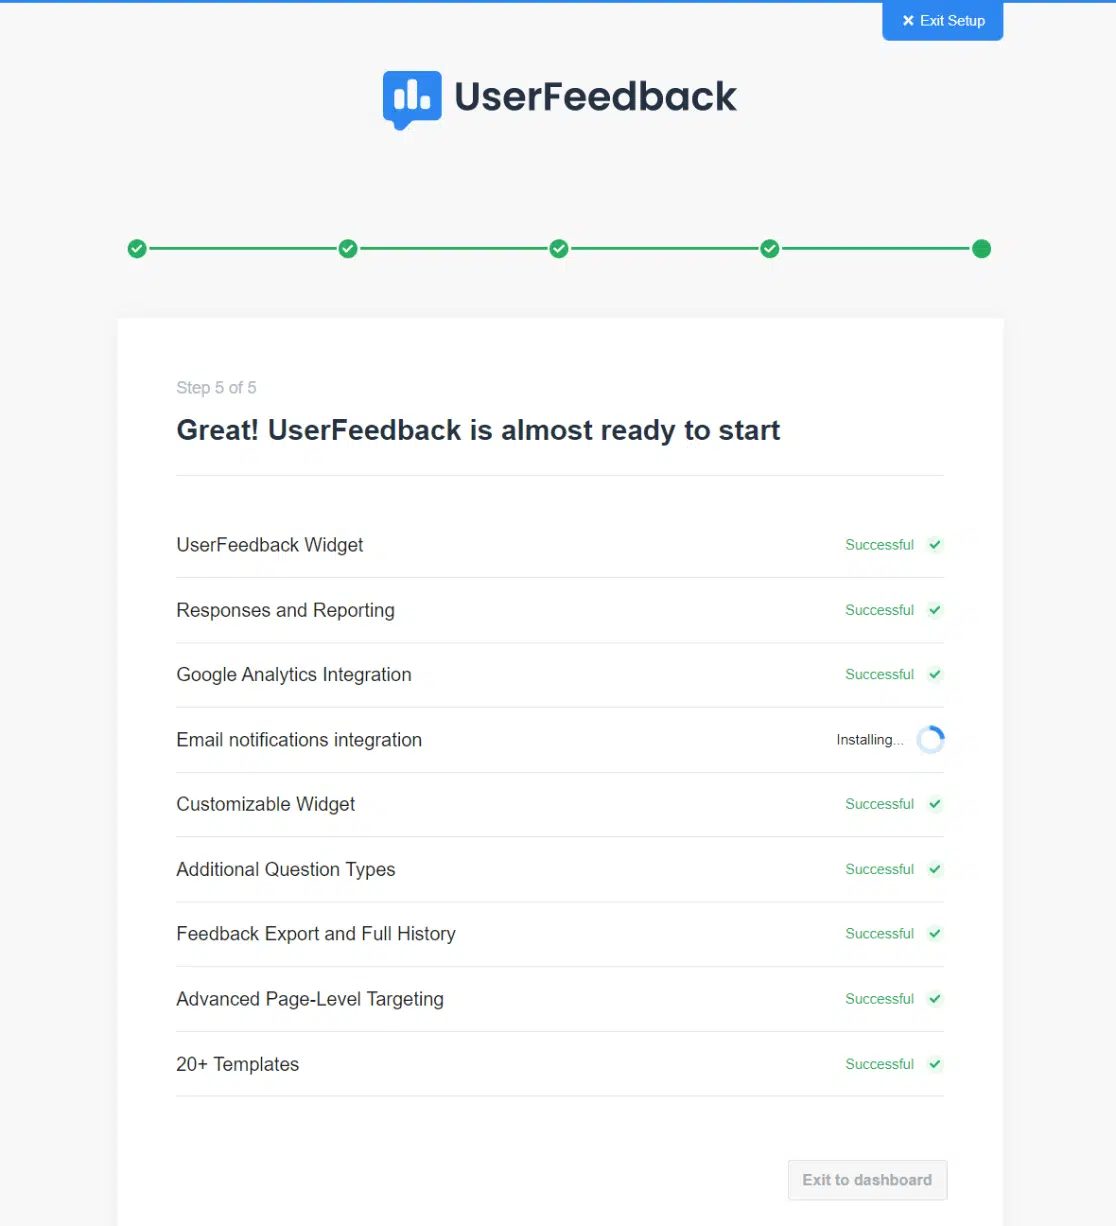
Step 4: Finalize Your Survey
In this final step, the selected addons and features will be installed.
When it’s ready, click the button at the bottom to exit to your dashboard. Your survey may not be ready for a few seconds.
Step 5: Modify Your Survey
Now, you can edit the survey you created during setup or create a new one.
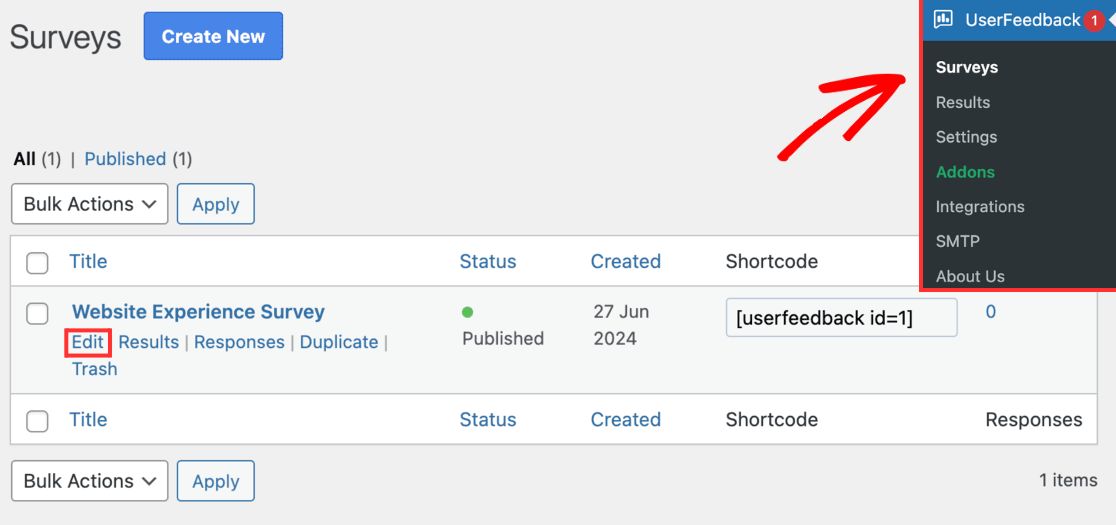
To edit, go to UserFeedback » Surveys in your WordPress admin, hover over your survey, and click the Edit link:
You’ll arrive at a screen where you can modify the questions in your survey and display the thank you message to respondents:
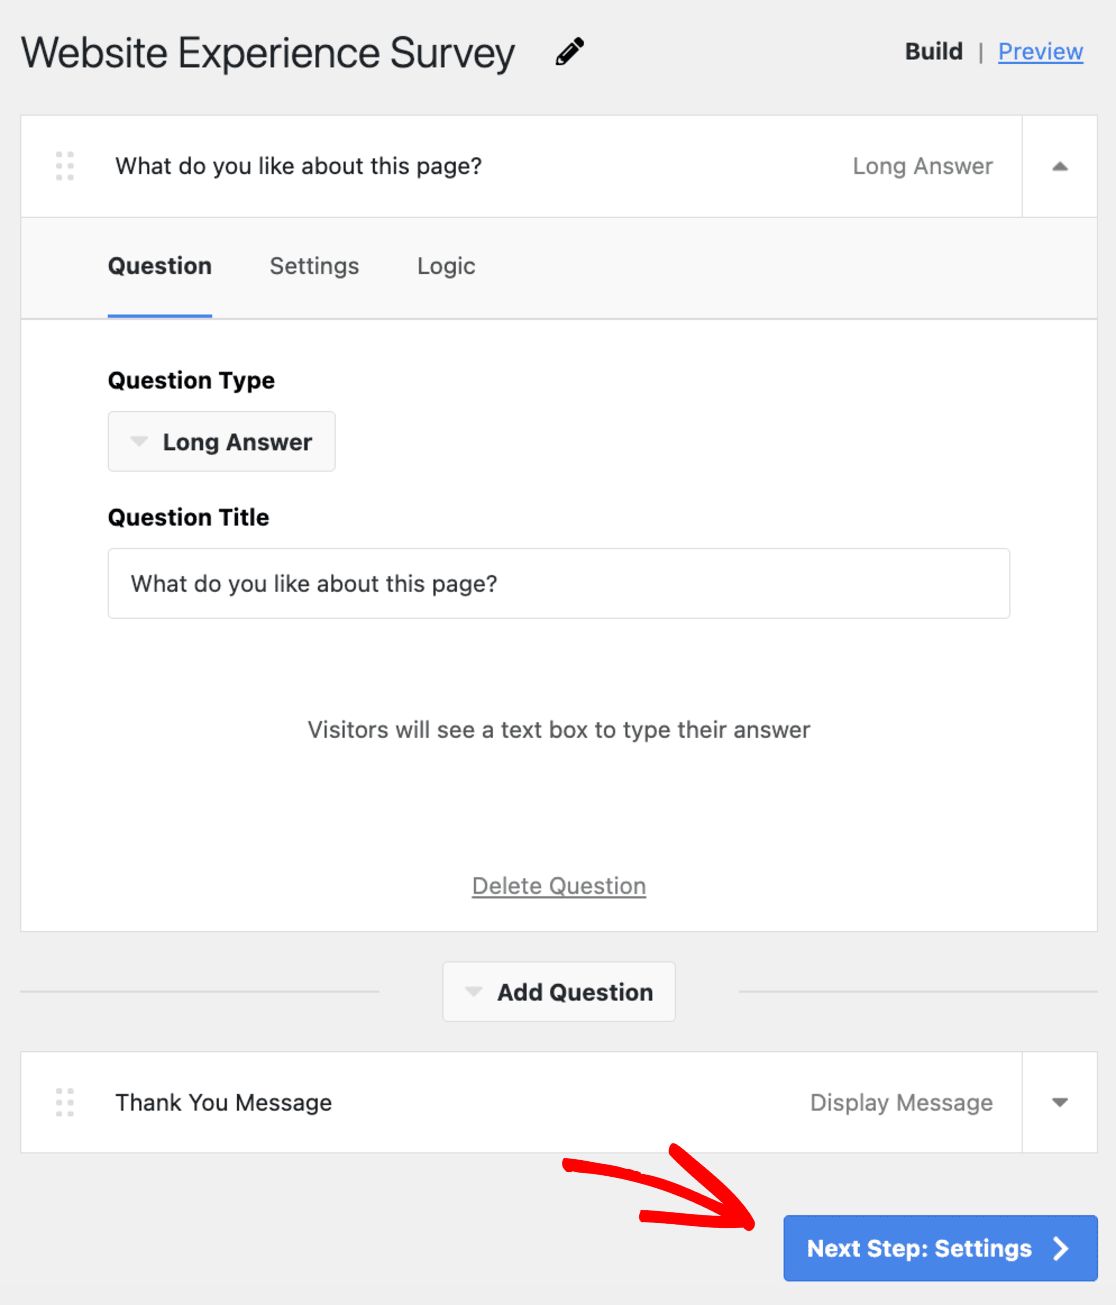
Feel free to add or edit questions and your thank you message, then click the Next Step button.
Next, you’ll be on the Settings page, where you can customize your survey further.
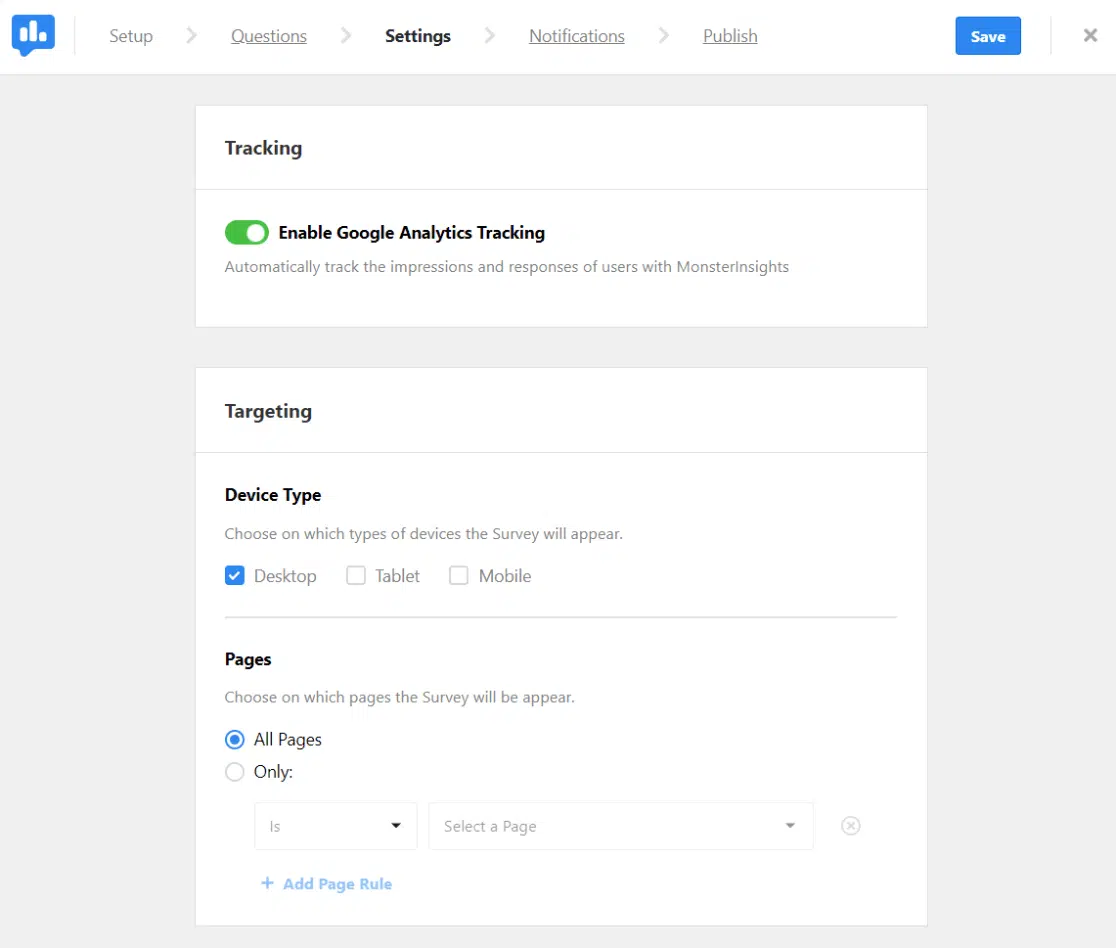
First, you can enable or disable Google Analytics tracking through MonsterInsights (I recommend keeping this on).
In the Targeting section, you can decide where and when your survey appears, select device types, and choose specific pages for the survey to appear.
In the Behavior section, you can set when your survey will pop up, how long it will stay visible, the duration it should run, and whether the survey should start minimized:
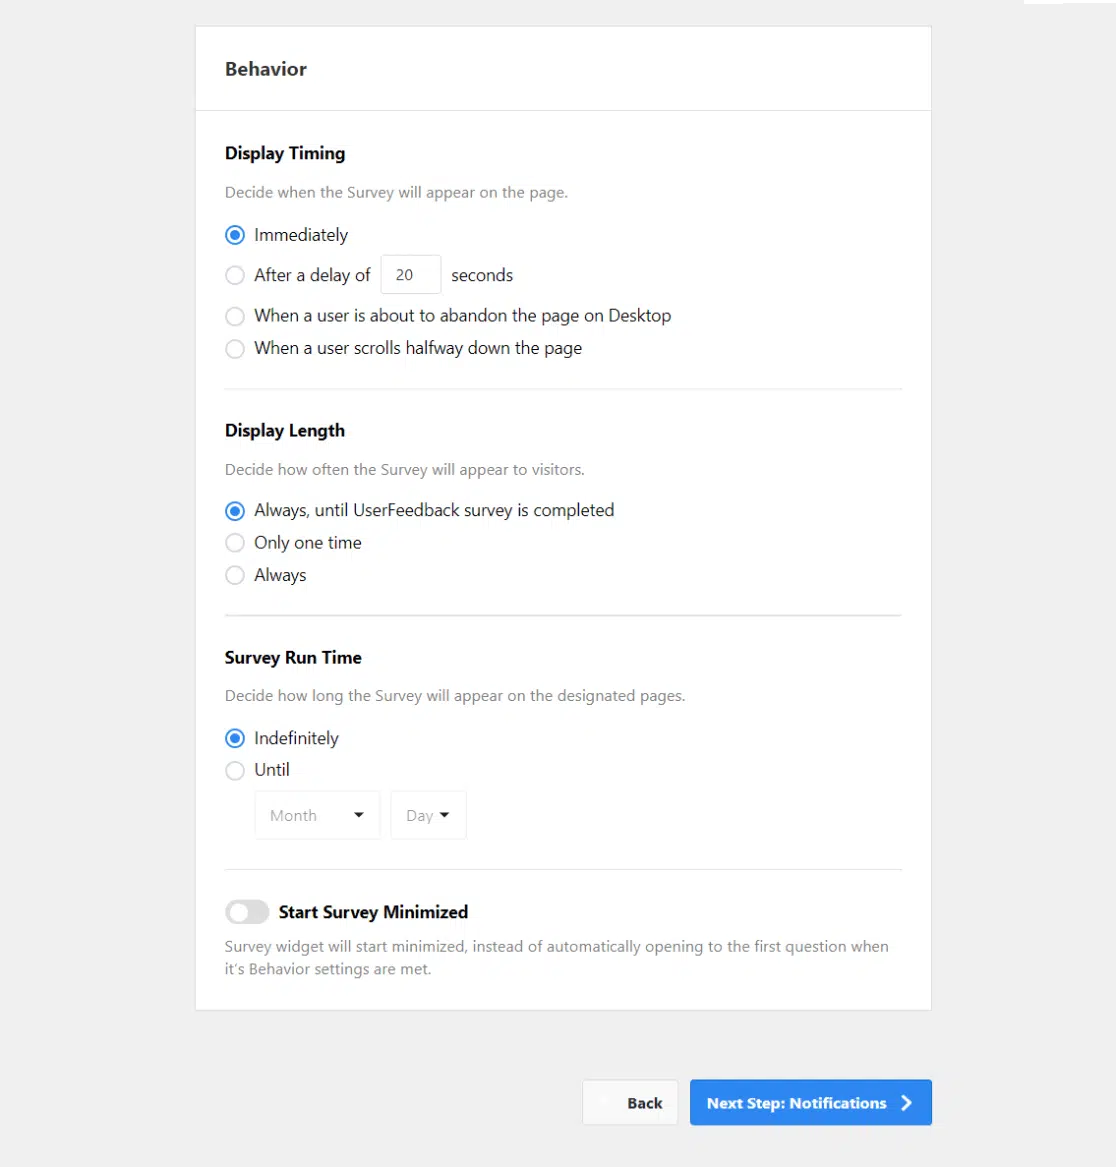
After configuring these settings, click the Next Step button at the bottom.
Finally, on the Notifications screen, you can choose whether to send an email notification each time the survey is completed:

That’s it!
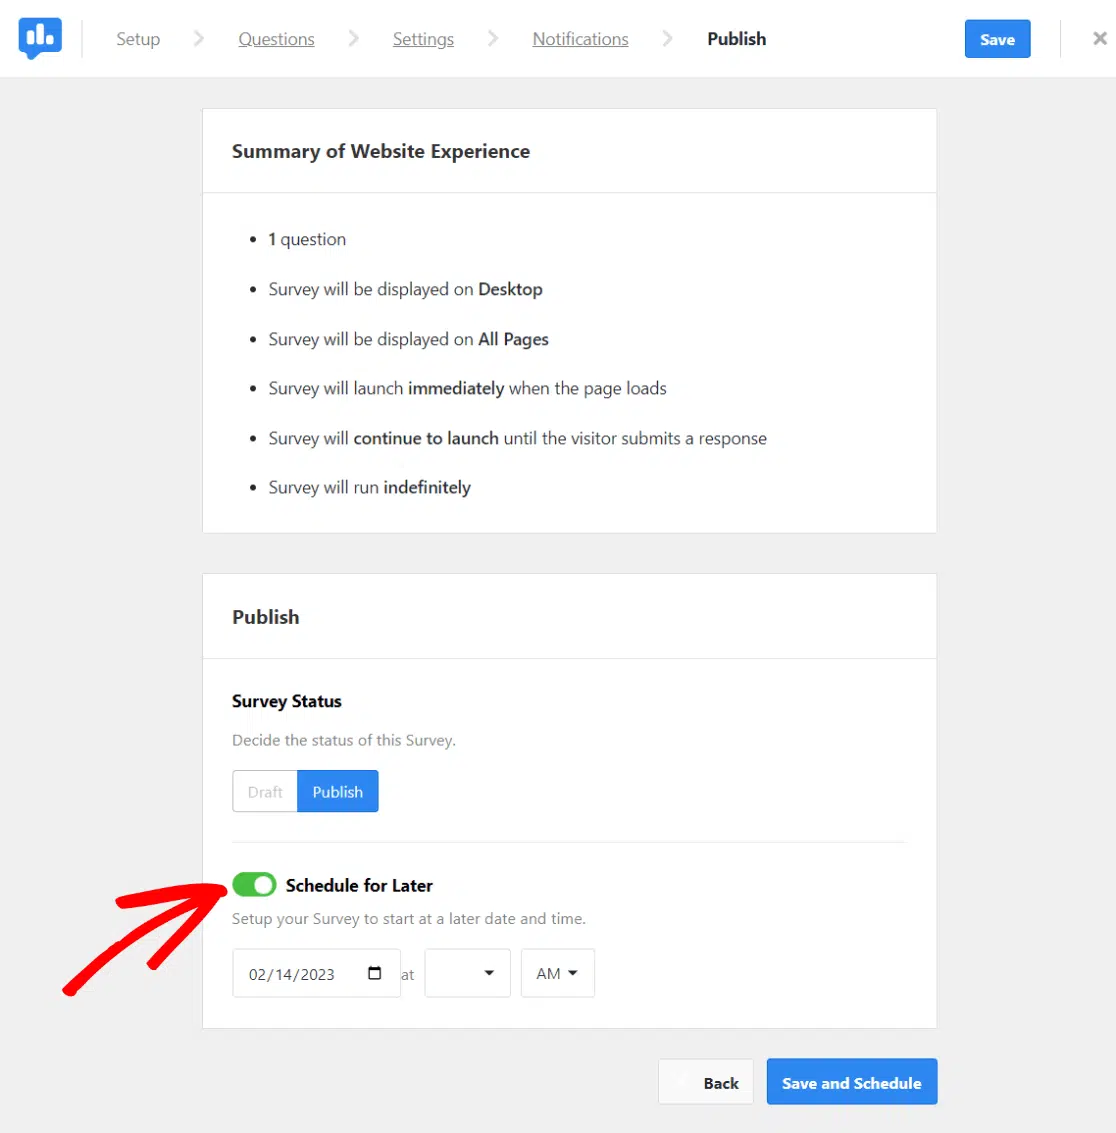
Proceed to the Publish page.
By default, the survey is set to be scheduled for later. If you want it to go live immediately, simply toggle the Schedule for Later switch to off:
You’ve now successfully created a survey in WordPress and published it on your website using UserFeeback.
To personalize the appearance of your survey even more, navigate to UserFeedback in your WordPress dashboard, go to Settings, and select Widget:
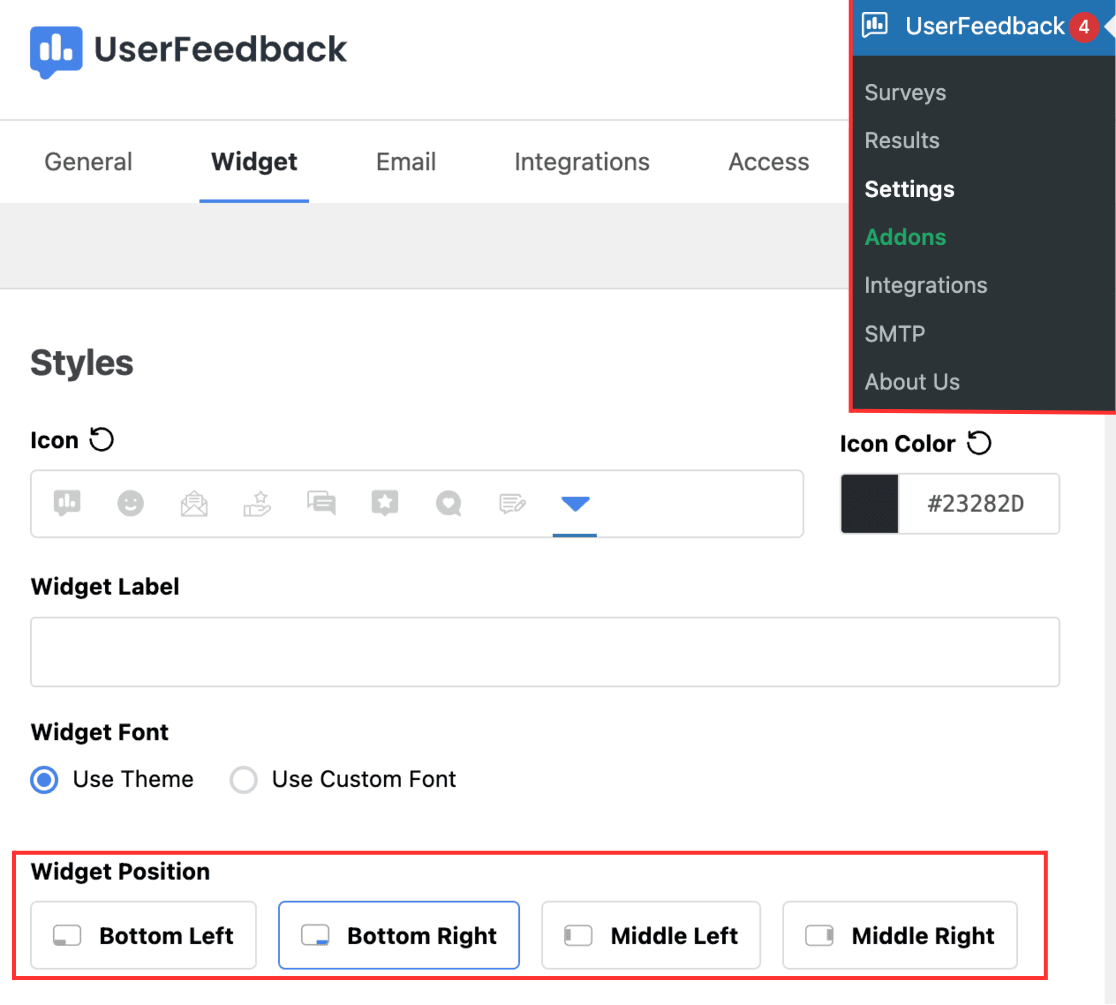
Here, you can modify the position, font, style, logo, and more of your survey.
To see your survey results, go to UserFeedback » Surveys in your WordPress admin, hover over your survey, and click the Results link:

Next, let’s take a look at an alternative method using WPForms.
Option 2: Use WPForms to Create a Survey in WordPress
WPForms is a drag-and-drop WordPress form builder that enables you to create surveys, contacts, orders, donations, and virtually any other form you can think of.
Its Surveys and Polls Addon makes creating WordPress surveys straightforward and provides useful reports. Note that you’ll need WPForms Pro or a higher license to use this addon.
With the Surveys and Polls Addon for WordPress, you get the following features:
- A pre-designed survey template to quickly get started
- Drag-and-drop form builder for easy survey form creation
- Smart survey fields like Rating, Likert scale, and multiple-choice
- Options to embed surveys in posts, sidebars, footers, and more
- Survey reports featuring graphs, charts, and tables
- Ability to export survey results in JPEG, PDF, or print formats
- An SMTP service (WP Mail SMTP)
In essence, WPForms is a comprehensive solution for all your form-building needs.
Now, let’s explore how to create a survey form in WordPress using WPForms.
Step 1: Install WPForms and Create Your Survey Form
First, install and activate the WPForms plugin on your WordPress site. If you’re unsure how to do this, check out this step-by-step guide on installing a plugin in WordPress.
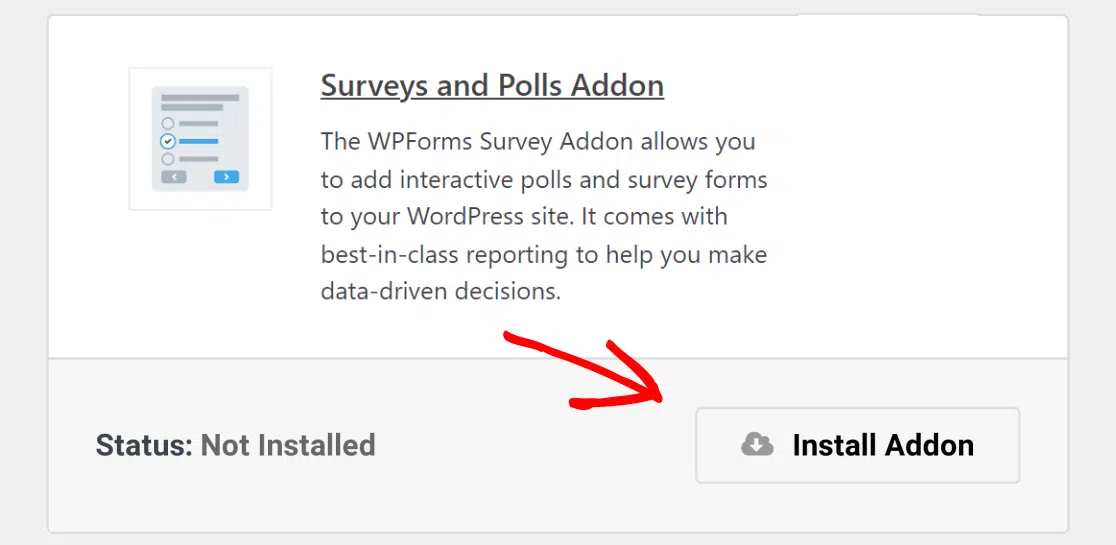
After activating the plugin, a new WPForms menu will appear on your WordPress dashboard. Navigate to the Addons submenu and locate the Surveys and Polls addon.
Click the Install Addon button, then activate the addon.
Now, you’re ready to create a survey with WPForms.
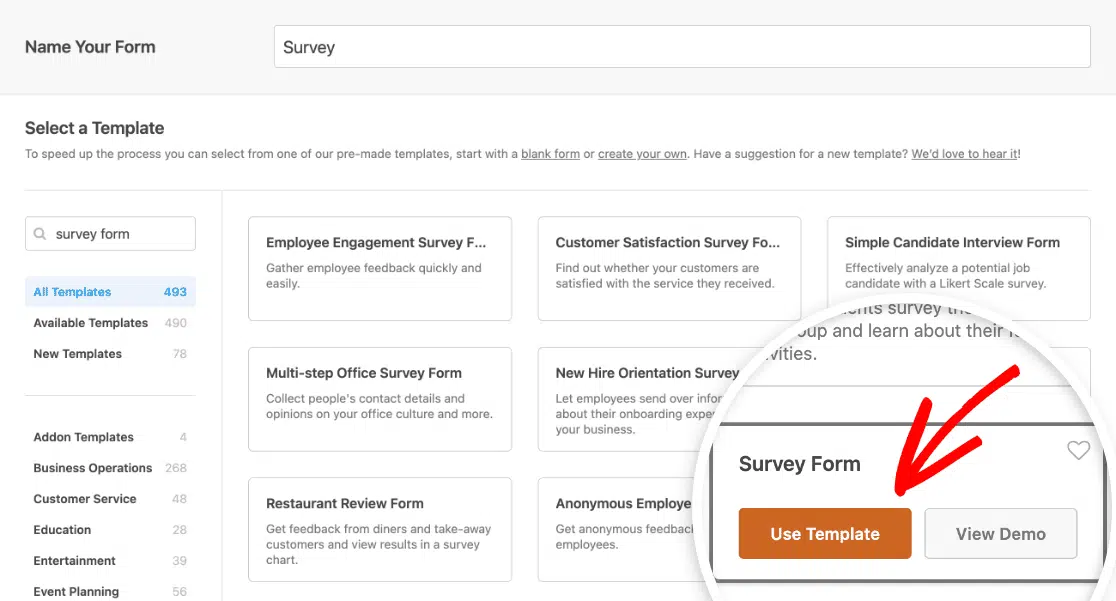
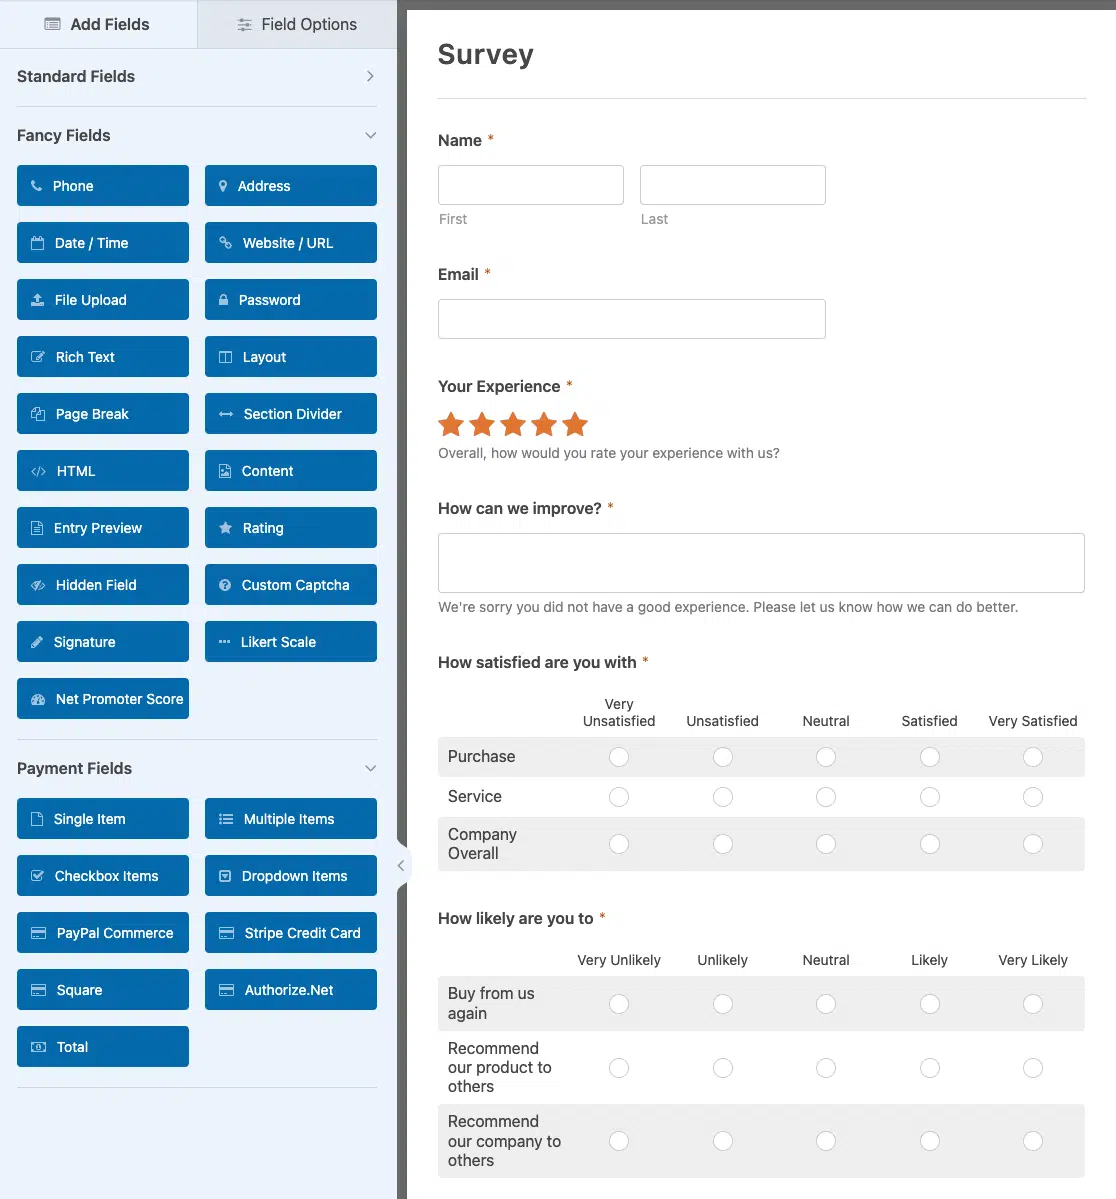
Go to WPForms » Add New from your WordPress dashboard and select the Survey Form template.
WPForms will generate a ready-to-use survey form for you.
The form will include the following fields:
- Name
- Star rating
- How can we improve the text box
- Likert scale
If this form meets your needs, simply click the Save button and proceed to Step 3. If you want to customize your survey form, keep reading.
Step 2: Personalize Your WordPress Survey Form
WPForms allows extensive customization of your survey form to suit your specific needs.
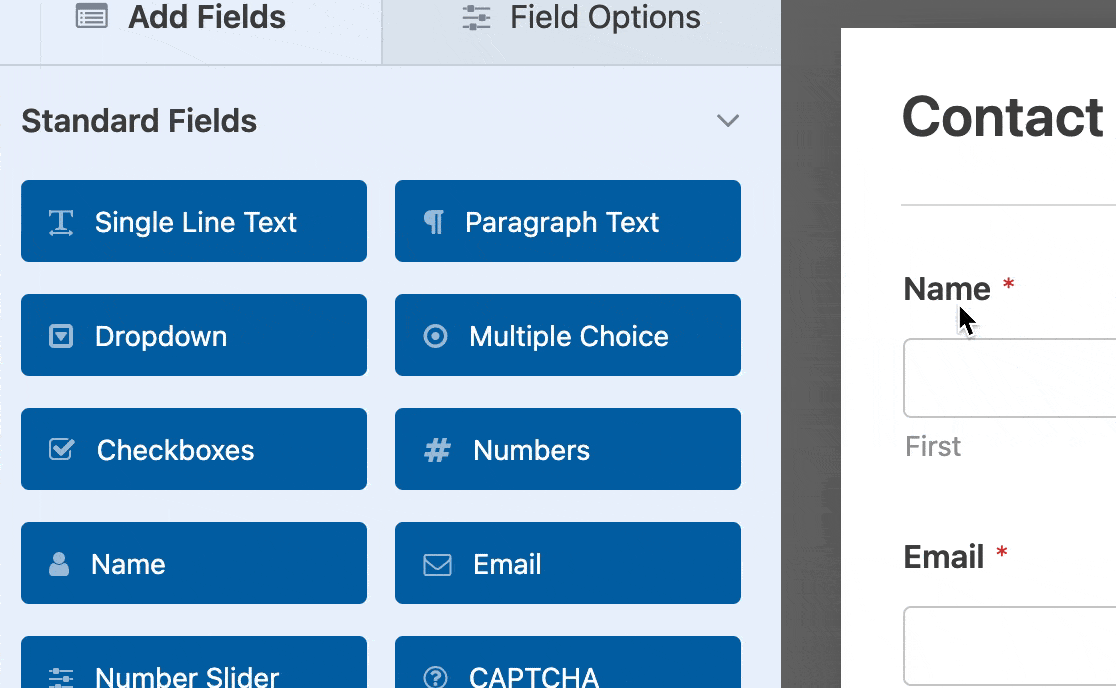
To add additional form fields, drag them from the left-hand side panel to the form-building interface on your right. You can then reorder and arrange the fields as needed.
To edit any field, click on it and then select Field Options in the left-hand column.
You can modify your fields’ label, format, and description here or enable the Required option.
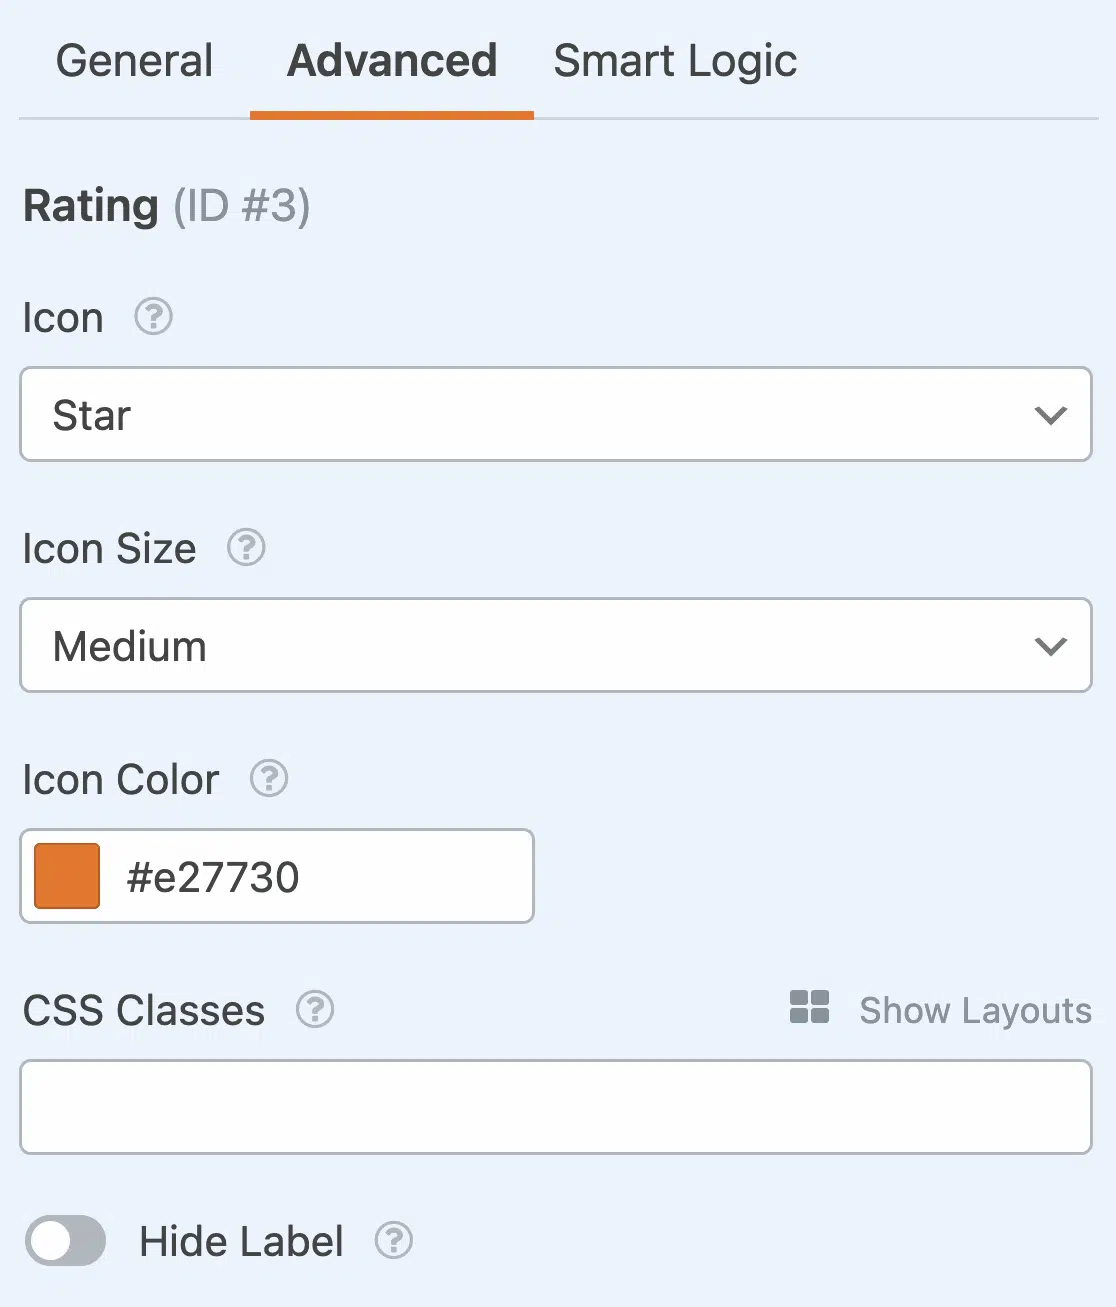
Customizing your rating field is similar; click on Field Options to adjust the label, description, rating scale, and required status.
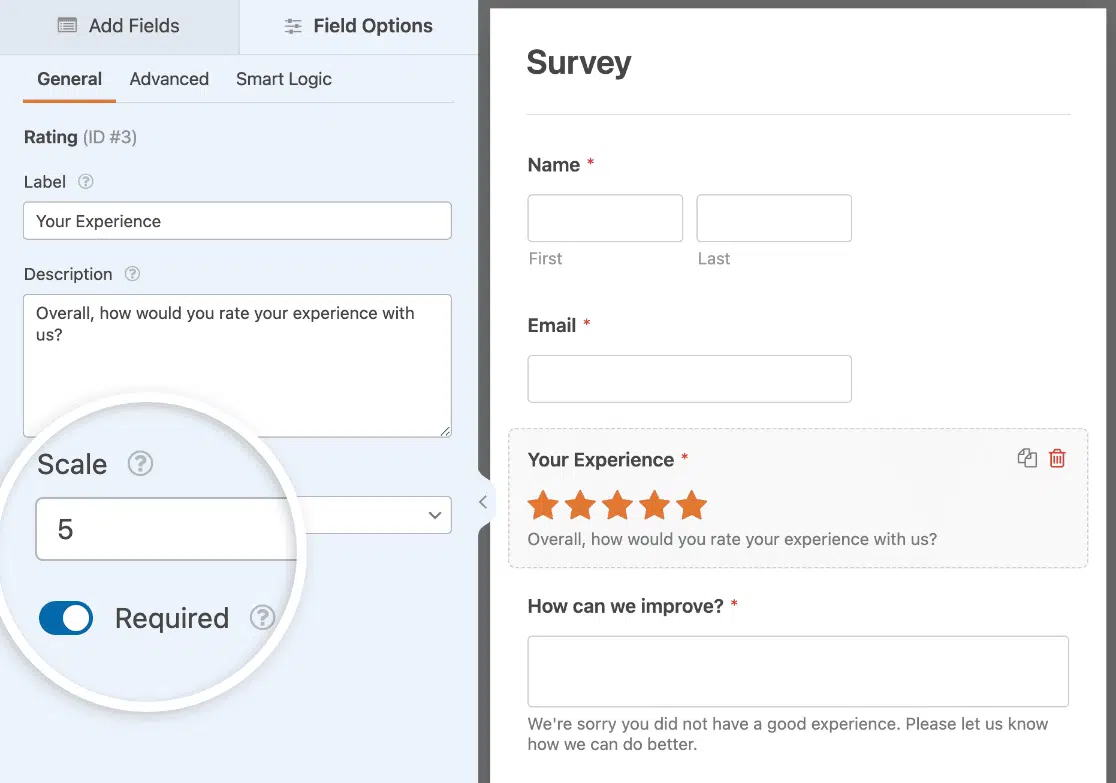
In the Advanced Options tab, you can select an icon, adjust its size and color, add CSS classes, and more.
To enable conditional logic, click on the Smart Logic tab.
After customizing your fields, click the Save button.
Step 3: Set Up Your Survey Form Settings
To configure your survey form settings, click Settings in the WPForms menu.
There are multiple settings tabs to go through:
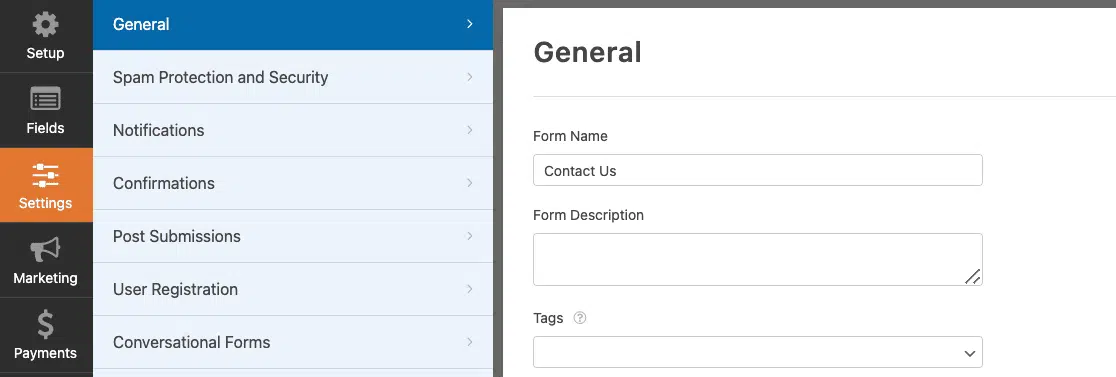
General Settings
Include the basics, such as your survey form name, description, submit button text, and processing text.
You can also enable anti-spam features like honeypot and Google reCAPTCHA.
Spam Protection and Security
These settings help prevent bots from submitting your form.
Ensure the anti-spam feature is enabled, connect your form to the Akismet plugin, create custom anti-spam filters, and set up your preferred CAPTCHA.
Notifications
Configure how you’re notified when someone completes your survey. You can enable or disable notifications and customize the default notification settings.
You can also notify site visitors using smart tags when they complete your survey.
Confirmations
Decide what happens after a user submits the form.
You can show a message or redirect them to a thank you page.
Step 4: Embed Your Survey on Your Site
Now that your survey form is ready, you can embed it on your WordPress site. WPForms makes this process easy with different methods.
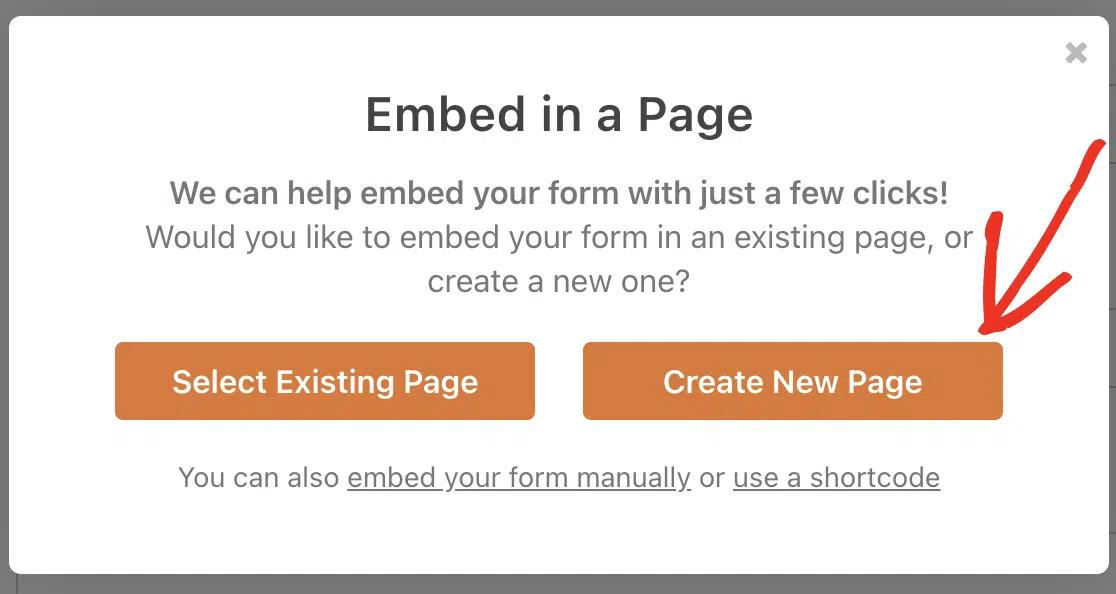
The first option is to click the Embed button on your form editor page.

This will bring up a popup with two options: ‘Select Existing Page’ or ‘Create New Page.’
There are also links for manually embedding your form with a shortcode. These options are convenient for placing your form directly on the desired page.
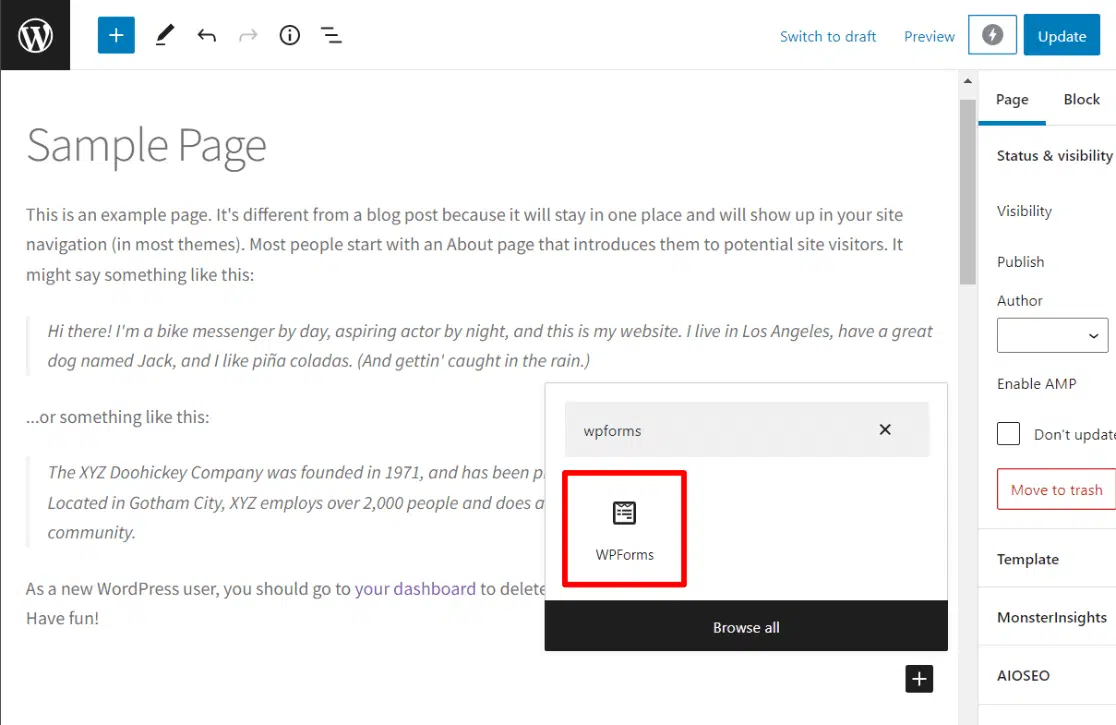
The second option is to directly embed your survey while editing your page.
As you edit a page or post, use the WPForms block to insert your form wherever you want, including in sidebar widgets:
Step 5: View Survey Form Reports
Once people start filling out your survey, you can view the collected data in survey reports.
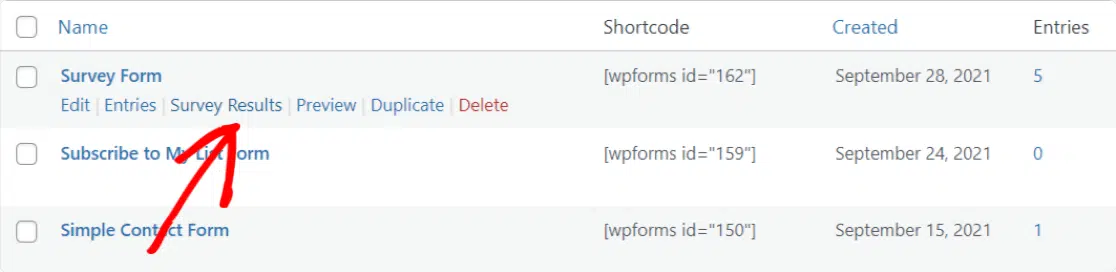
To view the survey data, go to WPForms » All Forms. Find the survey form you want to review, hover over it, and click Survey Results to view the data:
You’ve now created and published a survey in WordPress using WPForms.
12 Tips for Creating a Good User Survey
Creating a survey that gets you valuable insights requires planning and thoughtful design. I see many people getting in wrong and making a few common but critical mistakes.
So, I wanted to share some tips to help you create a good survey:
- Clearly identify the purpose of your survey.
- Keep it short and simple.
- Write your questions in plain language that is easy to understand.
- Ensure each question addresses a single topic or idea.
- Avoid leading or biased choices that could influence respondents’ answers.
- Use a mix of question types such as multiple-choice, Likert scale, star ratings, and open-ended questions.
- Apply conditional logic to show or hide questions based on previous answers.
- Before distributing your survey, test it with a small group to identify any confusing questions or technical issues.
- If your survey is longer, include a progress bar to show respondents how much they have completed.
- Assure respondents that their answers will be kept anonymous and confidential.
- To encourage participation, consider offering an incentive, such as a discount or entry into a prize draw.
- After collecting responses, thank your participants and, if appropriate, share a summary of the findings.
By following these tips, you can create engaging, effective surveys that can provide valuable business insights to improve your website and products and help you grow your business.
Common Survey Implementation Mistakes
Through troubleshooting hundreds of survey issues, I’ve identified the most frequent problems:
- Over-surveying: Showing the same survey repeatedly to users creates fatigue and negative brand perception.
- Poor Question Sequencing: Starting with complex or sensitive questions causes immediate abandonment.
- Inadequate Testing: Surveys that work perfectly on desktop often break on mobile devices.
- Ignoring Load Times: Heavy survey plugins can significantly impact page speed and SEO rankings.
- Missing Thank You Pages: Failing to acknowledge completion feels abrupt and unprofessional.
If you avoid making these common mistakes, you’re already way ahead of the majority of your competitors!
That wraps up our guide on how to create a survey form in WordPress. We hope you liked it and found it helpful. Be sure to also check out:
- How to Get Customer Feedback Online (6 Best Ways)
- Customer Survey Questions + Guide to Meaningful Feedback
- Customer Satisfaction Survey Examples & Templates to Use
- Tutorial: Net Promoter Score® (NPS®) Survey in WordPress
Haven’t tried UserFeedback yet? What are you waiting for?
And don’t forget to follow us on X and Facebook to learn more about collecting user feedback online.
Frequently Asked Questions
How do I create a survey in WordPress?
Install a survey plugin like UserFeedback or WPForms, use the drag-and-drop builder to create questions, customize the design, and embed it on your site using blocks or shortcodes.
What is the best WordPress survey plugin?
UserFeedback excels for popup feedback surveys with real-time targeting, while WPForms is ideal for comprehensive form building with extensive customization options.
Can I create surveys for free in WordPress?
Yes, both UserFeedback and WPForms offer free versions with basic survey functionality. Premium features like conditional logic and advanced reporting require paid plans.
How do I embed a survey in WordPress?
Use the plugin’s dedicated block in the WordPress editor, insert shortcodes manually, or utilize popup display options for non-intrusive survey presentation.